

Have you ever wondered how bloggers take such good pictures? Well, not all bloggers but some of them are really talented. Is there a secret or something? If you want to learn some photography lighting tips for bloggers then this post is for you.
This post will be part of a series where I cover three fundamental aspects of photography. In this post, we are going to talk about Lighting. In future posts, we will discuss composition and then camera settings.
So how do you improve your photography? Well, It’s not magic and it’s not about an expensive DSLR, Mirrorless, or another dedicated camera. You can learn how to take good blog photos with your iPhone or another smartphone device.
Why? Simple, because Photography is all about light!
CreativeLive: Lighting, Logistics, and Strategies for a Life in Photography with Joe McNally
Photographers often refer to photography as the Art of Painting with Light. Your camera is merely a vessel to record and interpret the patterns of light composing the world around you.
Learning how this light behaves is power when it comes to photography.
“Light makes photography. Embrace light. Admire it. Love it. But above all, know light. Know it for all you are worth, and you will know the key to photography. - George Eastman” Share on X10 Photography Tips for Bloggers – How to be a Good Photographer
1.) Find the Light
In order to use light to your advantage, you first need to find the light. Many times my wife will complain about her smartphone camera while chasing our daughter around the house.
The problem, there’s not enough light. Sometimes the situation is one that you don’t have the necessary tools or control to help the situation.
Other times, you have complete control. With a little extra thought, time, and energy you could have drastically improved the image.
Never set about taking photos for your blog without first thinking about light. In fact, I encourage you to walk around and study light even when you don’t have your camera.
Actionable Advice: Always be on the lookout for great light. Walk around all day, every day, thinking, “Wow, that is some really nice light happening right there. I wish I had my camera!”

Best Books on Photography Lighting
2.) Use Window Light
While my wife is griping about her smartphone camera, I usually start opening doors, shades and blinds with hopes of helping her solve the problem. When you don’t have enough light you go find some. Windows and doors are perfect, the bigger the better.
North Facing Windows
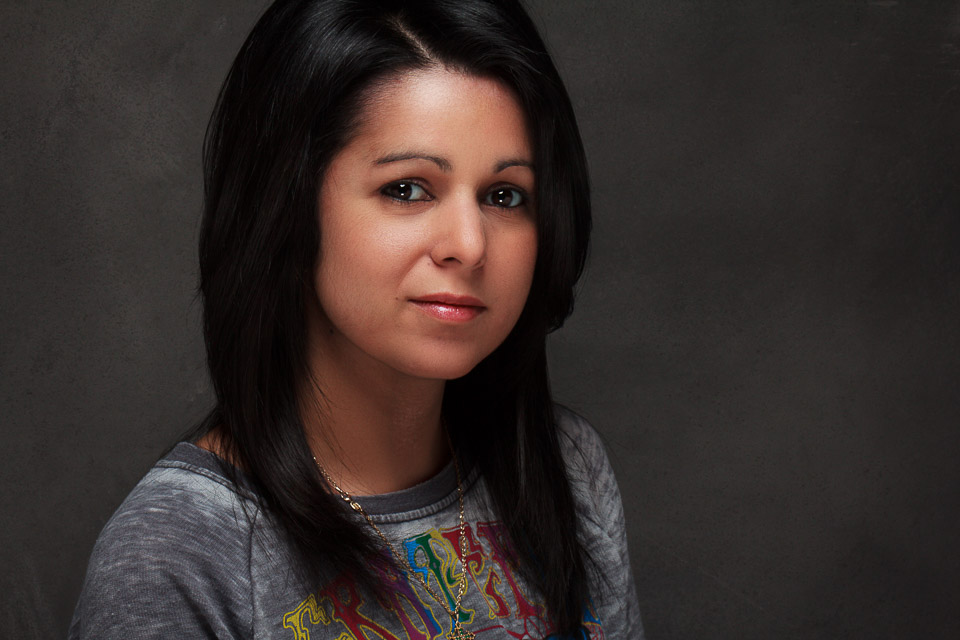
North facing windows are your best option when you don’t want direct sunlight. Direct sunlight usually produces hard light, see below. If you want a softer more flattering light, then look for a window facing north.
Actionable Advice: Experiment with the windows in your house. Use a North facing window for an even soft portrait light that wraps around your subject.
South Facing Windows
The sun follows a slightly southern east to west pattern across the sky. For this reason, you will typically see more direct sun in your southern facing windows.
Direct sun will provide a hard light source, especially on a sunny afternoon. Direct light can be harsh but it can also be exactly what you’re looking for.
Actionable Advice: Experiment with south facing windows and hard light. If this is your only big window and you are looking for soft light try to hang a white cloth in front of the window.
East and West Windows
Because the sun rises in the East and sets in the West you will find direct sunlight in one of these windows depending on the time of day. The lower the sun is to the horizon the softer this light becomes.
If it’s cloudy or during golden hour, see below, you will find a much softer more diffuse light coming in through these windows so there are a lot of factors to consider.
Actionable Advice: Experiment more, the more you experiment the more you will understand the light available in your house.
Use an East or West Window for hard light to create something a little more edgy with lots of contrast and hard lines. This is also great for silhouette shots.
If this is the only available window try to cover it with a white sheet to diffuse the light.

3.) Good Light Beats Good Location
Nine out of ten times good light is going to beat a good location. Sometimes you find a place you really like and can’t wait to use it for a portrait session. When you arrive, the light is bad.
It’s not the type of light you’re looking for and maybe you don’t have a scrim or assistant to help. Just 10 feet away is another spot, not as interesting but the light is magnificent.
Explore the spot with good light before trying to force the location because you like it.
Actionable Advice: If you are walking around with your client looking for the perfect spot, look for the light, not the location.
-

- Here I do my best to cram the subject into the shade of a staircase half in the sun.
-
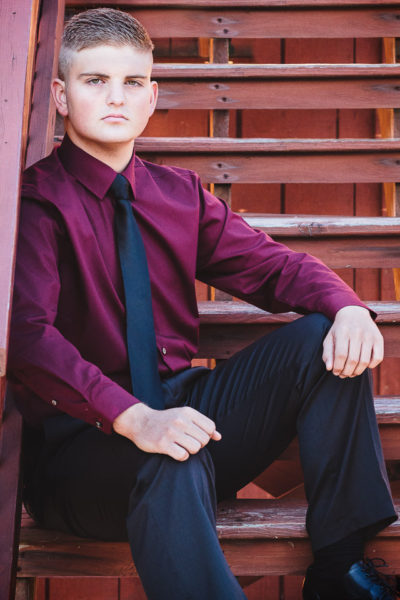
- Here I go to painstaking measures to fix the stairs in post. Note to future self: Just go pick a different spot!
4.) Use Soft Light
Soft light is defined as light that wraps around a subject with diffuse shadows and soft edges. Most often in portrait photography this is the light we are seeking.
The larger the light source relative to your subject, the softer the light. That’s why we use umbrellas and soft boxes. We want to take our existing light source and make it bigger. Then we throw a diffuser on it to soften the light further.
You can also make your light source larger by simply moving it closer to the subject. The closer the light source relative to your subject the bigger it is and therefore the softer the light.
Actionable Advice: Experiment with larger light sources and diffusers to create a soft light to make your portrait shots amazing. Move the light closer and then further away, observe what happens.
5.) Use Hard Light
Hard light is the opposite of soft light. It doesn’t wrap around your subject. Instead, harsh lines that transition from light to shadow are the hallmark of hard light.
The smaller the light source relative to your subject, the harder the light will be. Take the sun for example. If the sun is overhead on a bright sunny day then you are going to have hard light.
It’s true that the sun is a huge light source but because it’s so far away relative to our subject it becomes a source of hard light. When it’s cloudy, the clouds act to diffuse the sun’s light making it much more suitable for portraits.
Your client will oftentimes have the misconception that they got stuck with a cloudy day for their portrait session. It’s always fun when you surprise them, we photographers love clouds!
Fashion Blog Photography Tips
Fashion photography is one genre of photography that embraces hard shadows and edgy lighting. If you run a fashion blog then I suggest you explore this style of lighting further.
Actionable Advice: Experiment with small light sources, unmodified light sources, and shooting in direct sunlight. Embrace hard shadows and learn how to use them to your advantage to create a unique look.

6.) Diffuse the Light
It’s impossible to talk about soft light and hard light without talking about diffusing the light. We’ve already touched upon this but let’s review the common ways photographers diffuse light.
Clouds – Clouds diffuse the light from the sun.
Scrim – If there are no clouds and you are in direct sun, you can use a scrim. This will help diffuse the light from the sun.
Shoot through umbrella or Soft Box – If you are using a speed light or strobe then you likely will be using some type of modifier to diffuse the light.
White curtain – you can really use anything that will let light pass through. Just know if you use something with any color, you will be adding that color to your photo.
Actionable Advice: Practice diffusing light with a curtain. Shoot during both full sun and cloudy conditions. Buy a cheap scrim/diffuser from amazon and see how you can transform harsh sunlight into something more manageable. Bonus: The one I linked to doubles as a light reflector.
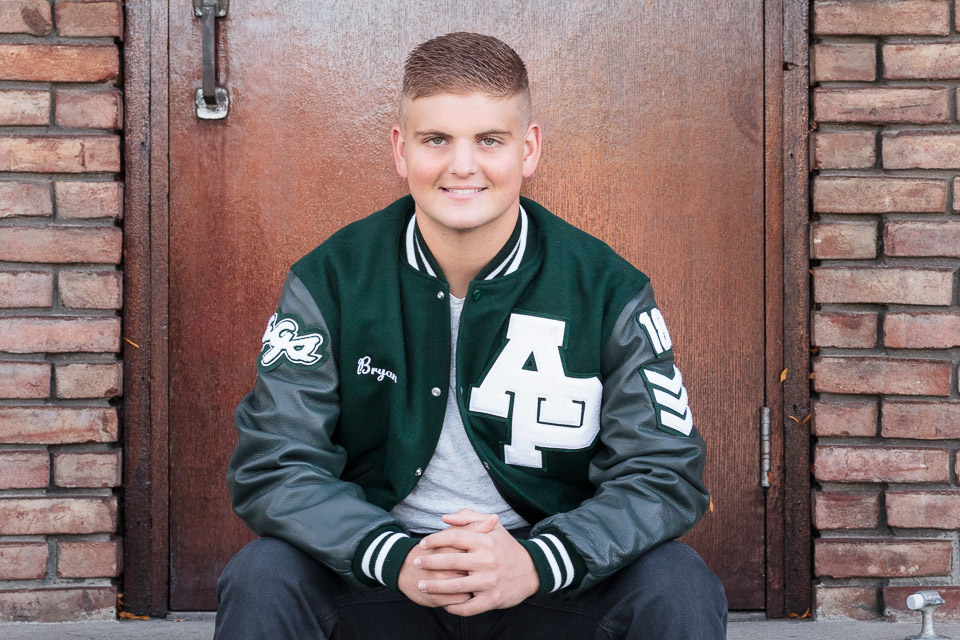
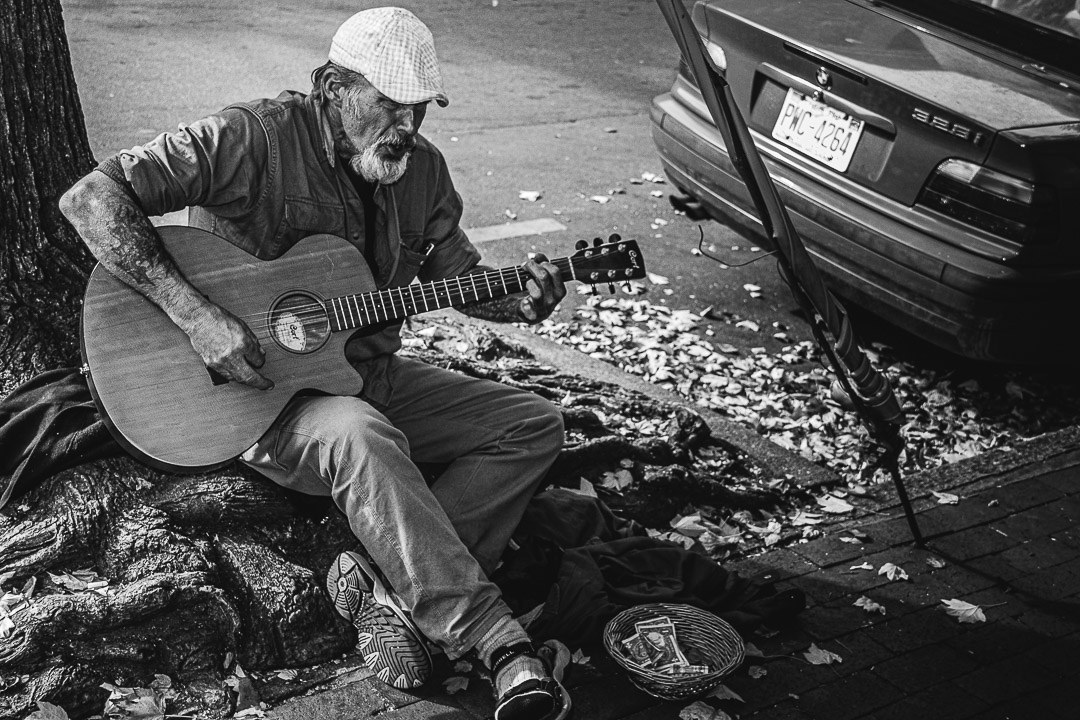
7.) Find the Shade
This is probably the most common practice photographers use to diffuse light and avoid the harsh sun. Typically, you want to look for even shade as opposed to speckled shade.
Speckled shade is the result of light passing unevenly or partially through something, often tree foliage. This isn’t to say you should never use speckled light. It just depends on what you are trying to achieve.
If you can, try to position your subject just at the edge of the line of shade. The light is often better here and you will get some nice light bouncing into the eyes.
Actionable Advice: When you are out and simply going about your day, study the shade. Where is it at different times in the day? Later you can use this knowledge to better plan your photo sessions.
If you already know the time of day, your favorite spot is in shade, and when it’s full-on sun, you don’t have to waste time looking.
8.) Use Bounce Light
You always want to be mindful of how light behaves. You might not be able to see it but light is continuously bouncing off walls, ceilings, floors, and just about any slightly reflective structure.
If you have a Speedlight on your camera, you can angle it upward toward the ceiling and bounce the light back down. This will essentially turn your flash into a light source the size of the ceiling. This will then produce a softer light source.
If you are using natural light, one trick is to position your subject into the shade. Then, look for something bouncing light into that shade.
Example: Image you are in an ally. One side of the ally is in shade, the opposite side is still in sunlight. Obviously, position your subject on the shaded side. But beyond that, look for a nice white wall on the sunny side to throw light into that shade.
Actionable Advice: Observe Light and study how it behaves. If you want to bring your own portable white surface to bounce light, consider buying a light reflector.
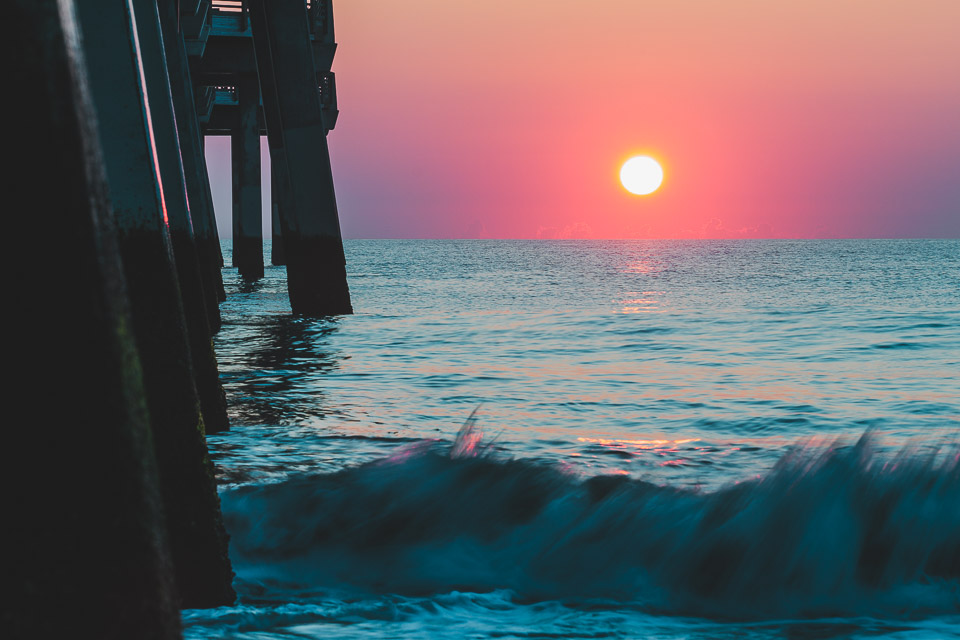
9.) Use the Light during Golden Hour
Golden Hour is roughly considered to be the first hour after sunrise and the last hour before sunset. The sun at this time is at a much lower angle in the sky causing the light to travel a greater distance across the atmosphere.
As the light travels across the atmosphere it reduces the intensity of direct light. The result is a magical light of soft warm goodness that really stands out. Everyone knows a photo taken at golden hour when they see it.
Actionable Advice: Experiment at golden hour. Try using it as a frontal light, backlight, or rim/edge light. Sun flares and Silhouettes are also fun to play around with. Never be afraid to fail because your mistakes are your greatest teacher.
Want some tips on how to shoot golden hour? Check out this really great in depth article by Alexandria Huff, What is Golden Hour and How to Photograph It.

10.) The Closer the Light, the Faster the Light Falls Off
This took me a while to figure out and I remember when I first figured it out. It was truly one of those ah-ha moments. You know, a moment of discovery. I felt like I was really starting to understand light at this point. So, what does it mean?
It means the closer you move your light source to your subject the faster the light falls off into shadow. If you move the light further away from your subject the light will reach further.
Example 1: Maybe you want a dramatic side-lit portrait where only half the face is lit and the other half is in shadow. If your light source is too far away it will continue to wrap further around the subject then perhaps you intend. Try moving the light closer. I know, it might seem backward but it is the answer.
Example 2: If you are using off-camera flash and want to light your subject but not the background, simply move the light source closer to your subject. Again, this will cause the light to fall off faster and hopefully not reach your background. This is really handy when you can’t simply move the subject further away from the background.
Actionable Advice: Experiment by moving your light source closer and further away from your subject. Get to know light and how it behaves.
Use the comments below and share your Best Photography Tips for Bloggers
Photography Workbooks
Join the Tribe
Want to join an amazing tribe of photographers, artists, and other creatives? Want more NFT Tips? Check out our Facebook group, NFT Photography Community. The Goal: Let’s just all help each other out!
Also, don’t forget to jump on the email list to get some free Photoshop Overlays and my “very occasional” email. I want to talk with you about inspiration, photography, blogging and just staying motivated.


Great post! Super helpful info about finding and using good light to improve your images.
Thanks Andrew, mastering light is the key to mastering photography :)
Thanks. This was helpful.
Glad you found it helpful :)
So useful. I have just started blogging and really need to up my photography game!
Thanks, we all are working on improving and its a fun ride that never ends. Good luck on your journey Faith :)
[…] You can do this by lighting them in different ways. Light them from the side with ambient window light. If you have strong light coming through the window, you can try to shoot straight on silhouettes. Mix it up, change windows, and get the speedlight out. If you need more help, check out this post about lighting: 10 Photography Lighting Tips […]
[…] I ran the test on what I considered a normal blog post for me. It was 2497 words and had 10 images in the content body. The results were miserable and my WordPress website was slow, too slow! See results below. Test Post: 10 Photography Lighting Tips for Bloggers […]
[…] Want to read more about Light. Of course you do, Photography is the art of painting with light and you’re a photographer. You love light! Read more about light here: 10 Photography Lighting Tips for Bloggers […]