

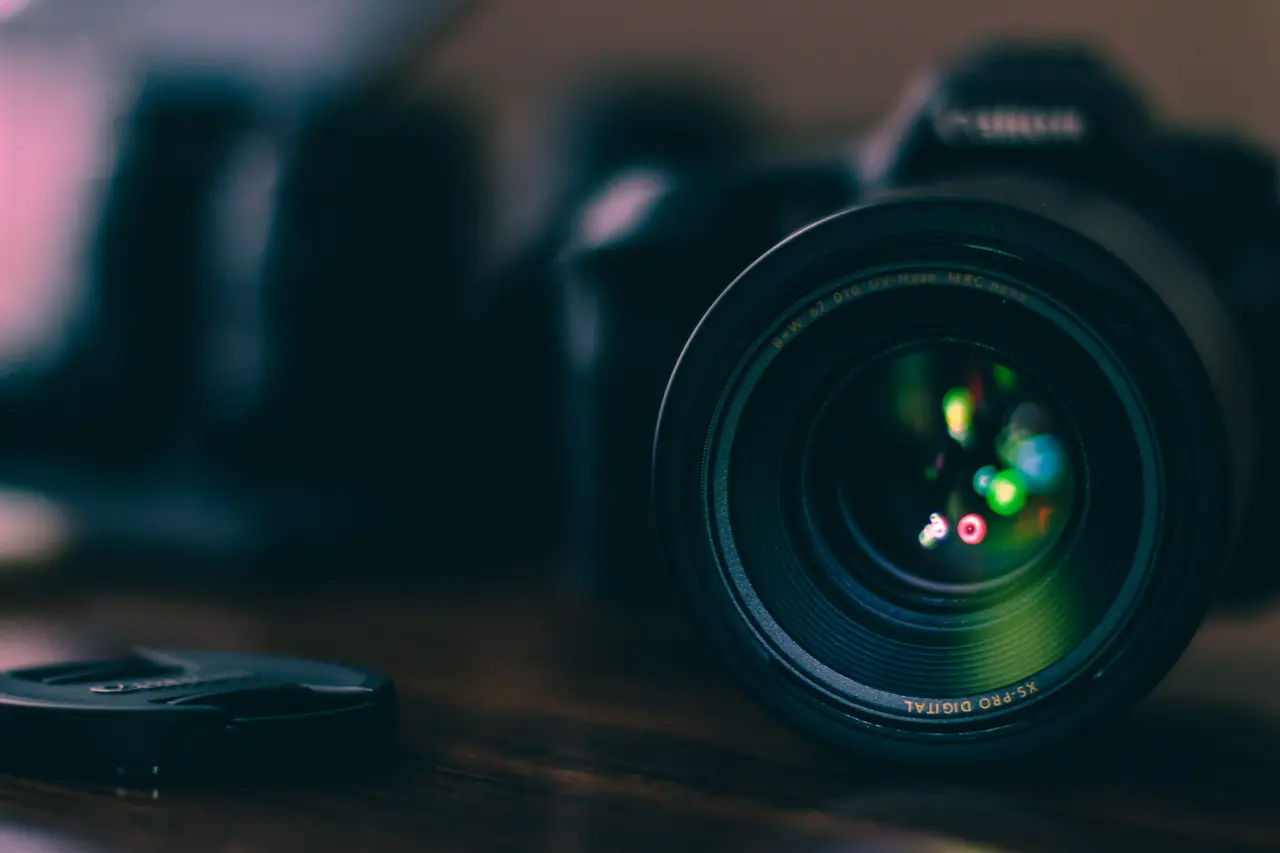
Introduction to DSLR Photography Basics
OK, you have a big photography meetup coming up. You can’t seriously go and shoot in manual mode the whole time.
Right?
People will make fun of you. OK, who cares about them people. This is for you!
Jumping from auto to manual on a DSLR camera opens the door to true creative control.
Think of it as the difference between riding a bike with training wheels and biking freely down the hill.
In manual mode, you decide on the focus, lighting, and everything else, not the camera.
To start, there are three pillars of photography you need to master: aperture, shutter speed, and ISO.
You can do this! Especially since I’m going to go over this multiple times in this post.
Just Keep reading.
Aperture controls how much light enters through the lens; it’s like the eye’s pupil enlarging in the dark.
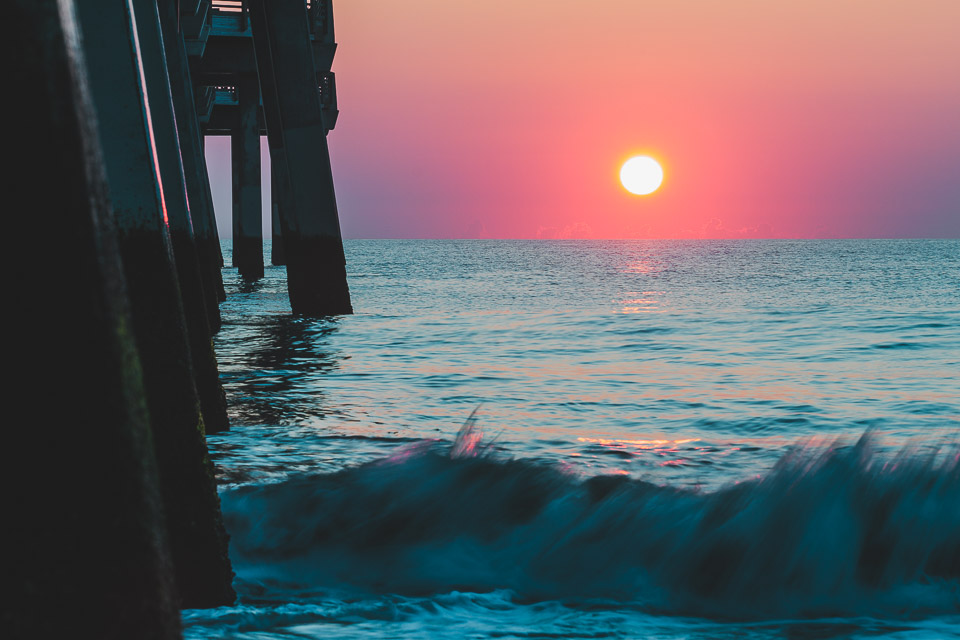
Shutter speed dictates how long the camera’s shutter stays open to let light in. Fast shutter speeds freeze action, while slower speeds can blur motion, like water flowing smoothly in a stream.
ISO measures the camera’s sensitivity to light. Higher ISO lets you shoot in low light, but be wary of increased grain or “noise” in your photos.
Unless you like noise or it’s part of the story.
Combining these three elements gives you the power to capture the world as you see it, not just how your camera thinks it should look. Start experimenting and see the difference for yourself.
Understanding Your DSLR: Key Features to Know
Getting the hang of your DSLR means getting familiar with its guts and gears. Let’s break down the crucial bits that’ll let you take control and get those stellar shots.
First up, the Mode Dial. It sits right on top, letting you switch between automatic, semi-automatic, and manual modes. Think of it as your camera’s brain, where you decide how much you let it think for you.
Next, the Shutter Release button, your go-to for snapping pics. It’s more than a button; it’s your gateway to capturing moments. Press it halfway to focus and all the way to shoot. Simple, yet powerful.
I might create another post about back button focus but for now, let’s keep it simple.
Then, there’s the Aperture and Shutter Speed controls. These are your light managers. Aperture handles how much light gets in, and shutter speed decides how long that light visits.
Together, they control the brightness and the feel of your shots.
A high shutter speed freezes motion, and low keeps it smooth.
Big aperture, more light and creamy backgrounds; small aperture, less light and sharper wide scenes.
ISO settings are next on the list. This is your camera’s sensitivity to light.
High ISO helps in dark places but can make your photos grainy.
Low ISO is great for bright days and keeps your shots clean.
Mastering these will let you shoot in almost any condition.
Lastly, don’t overlook the Focus Points. These help your camera decide what part of the shot stays sharp. Some situations call for manual focus, especially when your camera gets confused and doesn’t know what you want in focus.
Understanding these features is your first step to really owning the creative space in photography. Turn the dials, press the buttons, and see what happens. That’s how you learn.
Switching from Auto to Manual: The Advantages
Switching from auto to manual mode on your DSLR camera unlocks a world of creativity.
In auto mode, the camera makes all decisions for you, from shutter speed to aperture, often resulting in good but not great photos.
Flip the switch to manual, and you’re the boss. You control the light, depth of field, and motion in your photographs, allowing for more expressive and impactful images.
With manual mode, you can adapt to any lighting situation, making your photos stand out.
It might feel daunting at first, but mastering manual mode gives you complete creative control, turning ordinary shots into stunning, professional-looking images.
Embrace the learning curve; the results are worth it.
Essential Camera Settings in Manual Mode
Tackling manual mode on your DSLR? Start simple. Think of your camera as a buddy. To work well together, understand these basics: shutter speed, aperture, and ISO.
Shutter speed is about how long your camera peeks at the scene. Fast speeds freeze action; slow ones blur motion, adding drama to waterfalls or city lights.
Aperture, that’s your lens’ eye. Wide open, it gulps light, softens backgrounds, making portraits pop. Smaller, it sharpens landscapes edge to edge.
ISO? It’s your camera’s sensitivity to light. Low ISO keeps images crisp in bright light. Higher ISO saves the shot in the dark but risks grainy pictures.
Balancing these three elements gives you control over the vibe of your photos, making each snap more you.
Remember, practice beats perfection. Experiment to see what each change does. Your DSLR’s a tool to explore your world your way.
I can tell, you want more info on camera settings, check out my in-depth post, Photography Tips – Camera Settings Explained
The Exposure Triangle: ISO, Shutter Speed, and Aperture
I told you I’m going to beat this like a dead horse but I’m trying to show you something.
All those fancy buttons on your camera are just about 3 main settings. ISO, Shutter Speed, and Aperture.
Together, they constitute the Exposure Triangle.
Understanding the Exposure Triangle is like mastering the controls of your favorite video game. It’s crucial for taking your photography from ‘meh’ to ‘wow’.
Think of it as a trio of superheroes where each has its unique power.
ISO controls how sensitive your camera is to light. Low numbers are for sunny days, and high numbers are for the dark.
Shutter Speed decides how long your camera lets light in. Faster speeds freeze action, while slower speeds blur motion.
Aperture is about the size of your lens opening. Small numbers give a blurry background, and big numbers keep everything sharp.
Together, they control how light or dark your photo is. Balancing these three is the key to taking great shots. Play around with them to see how they affect your images.
Do you feel like the Exposure Triangle is more like the Bermuda Triangle? Feeling Lost, definitely check out my in-depth guide to the exposure triangle. What is the Exposure Triangle in Photography?
Mastering Focus for Sharp Images
Getting sharp photos is all about nailing the focus.
Now, I am not saying you have to use manual focus. Especially if you have a Mirrorless Canon R5 or something. I mean the autofocus is just amazing.
However, there are times you might consider manual focus.
For me, those times are when I’m doing Macro Photography. Try it, you will understand why.
The other situation occurs when there is insufficient light, and your camera struggles to find focus.
With manual mode on your DSLR, you control where your camera looks and what it sees as important.
First, switch your lens to manual focus, marked as ‘MF’. Look for a simple switch on your lens. Now, it’s all about your eyes and hands. You turn the focus ring on your lens, and as you do, watch your subject in the viewfinder or on the LCD screen.
Your goal? To get the subject crisp and clear. Here’s a trick: Use the magnification feature to zoom in on your subject while focusing. This makes it easier to see when you’ve hit that sweet spot of sharpness.
Remember, your DSLR might struggle to focus if it’s too dark, so good light is your friend. Also, keep a steady hand. Any shake can blur your photo.
Lastly, practice. It takes time to get the feel for manual focus, but once you do, your photos will have that professional edge you’re after.
Composition Techniques for Creative Control
Composition is key in photography. It’s how you arrange elements in a shot to guide the viewer’s eye and tell a story. Let’s simplify this.
Think of your photo as a puzzle; composition helps you decide how to fit the pieces together.
Rule of Thirds is your friend here. Imagine your image divided into nine equal parts by two vertical and two horizontal lines. Try to place the most important parts of your photo along these lines or their intersections. It makes your photo more balanced and grabs attention.
Then, there’s Leading Lines. Use natural lines, like roads or rivers, to lead the eye into the picture. It’s a powerful way to pull viewers into your story. Don’t forget about Framing. You can use windows, archways, or branches to frame your subject. It adds depth and interest, making your photos stand out.
And Symmetry and Patterns can add a wow factor. A perfect reflection or a repeating pattern catches the eye. But remember, breaking the pattern can add interest too.
Keep these techniques in mind, and play around with them. There’s no right or wrong in creativity. Your style will develop as you experiment with different composition techniques.
I’m not going to go too deep into composition here because I have a whole post about it here, 13 Photography Composition Tips for Bloggers
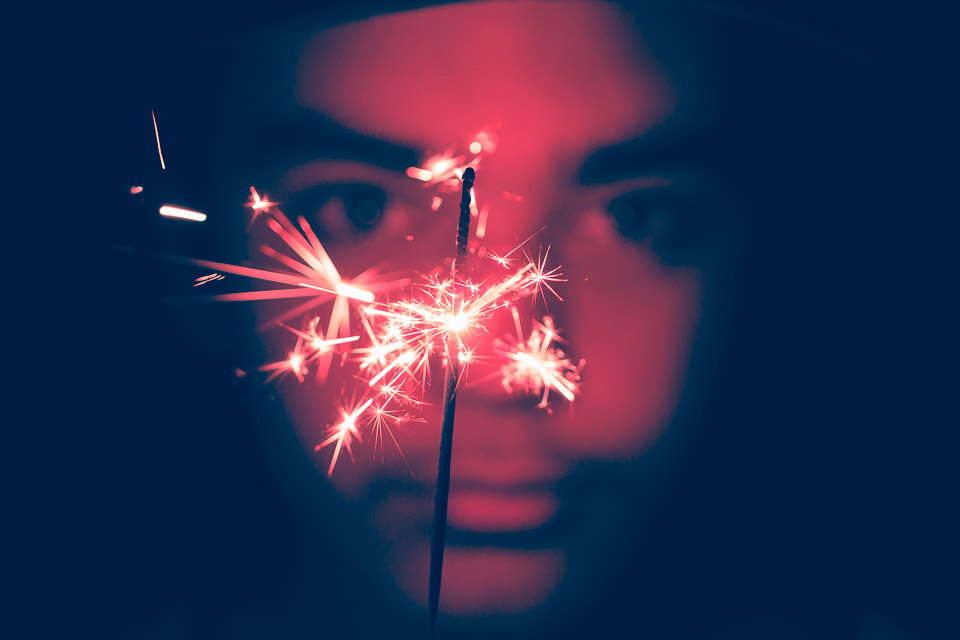
The Role of Lighting in DSLR Photography
Lighting is king in DSLR photography.
It’s not just about how much light you have but where it comes from and its quality. Think of light as the paint on your canvas. It can make or break your photo.
Natural light from the sun is your best friend, but it’s fickle. The golden hours—shortly after sunrise or before sunset—give you that soft, warm glow photographers covet.
But sunlight isn’t always on your side. Cloudy days diffuse light, reducing harsh shadows, which can work to your advantage for portraits.
Indoor lighting is a whole different game. It’s all about manipulating light sources or even creating your own with flashlights or lamps.
The key is to experiment. Move around. Change angles. See how different light sources change the mood of your photo.
Remember, the best light is the one that helps tell your story the way you want it told.
Want to read more about Light. Of course you do, Photography is the art of painting with light and you’re a photographer. You love light! Read more about light here: 10 Photography Lighting Tips for Bloggers
Experimenting with Lenses and Accessories
Jumping into lenses and accessories can truly spice up your photography. Think of lenses as your camera’s eyes.
Different lenses let your camera see the world in unique ways. A wide-angle lens captures vast landscapes, making them perfect for that epic outdoor shot.
You can also utilize a wide-angle lens for some fun portraits. Mix it up and find what works for you.
A telephoto lens, on the other hand, brings distant objects closer, ideal for wildlife photography.
Then, there’s the macro lens for those up-close and personal shots, revealing details you’d normally miss with the naked eye.
Accessories are your best friends.
A tripod keeps your camera steady, crucial for those long exposure shots or creating sharp images in low light.
A tripod also makes you slow down a little and allows for those dreamy long exposure shots.
A remote shutter release, a small device that lets you take a photo without touching your camera, can also be a game-changer. It eliminates camera shake entirely, giving you crisp photos.
Don’t forget about filters. A polarizing filter can make the sky bluer or reduce reflections, and ND filters allow you to shoot with a wide aperture or slow shutter speed even in bright light.
These tools open new doors, letting you experiment and push your creativity to the limit.
In short, lenses and accessories are not just extra gear. They expand what you can capture and how you capture it, giving you the power to tell your story in endlessly creative ways.
Dive in, experiment, and see how they can transform your shots.
Practice Tips and Projects to Solidify Your Skills
Getting comfortable with manual settings on your DSLR is key to taking creative control of your photography.
Here’s how you can solidify your skills. First, start with shooting in Aperture Priority mode. This lets you play with depth of field while the camera chooses other settings. See how changing the aperture affects your photos.
Next, move to Shutter Priority mode. Experiment with capturing motion. Try shooting a flowing stream or cars passing by at night to understand the impact of different shutter speeds.
Now, dive into full Manual mode. Here, balance your aperture and shutter speed yourself. Start with well-lit scenes to make it easier to adjust.
A great project is a day-to-night series. Photograph the same scene at various times to see how light changes and how you must adjust your settings accordingly.
Remember to practice, practice, practice. The more you shoot, the better you’ll get. And don’t worry about mistakes. They’re just stepping stones to mastering manual DSLR photography.
Join the Tribe
Want to join an amazing tribe of photographers, artists, and other creatives? Want more NFT Tips? Check out our Facebook group, NFT Photography Community. The Goal: Let’s just all help each other out!
Also, don’t forget to jump on the email list to get some free Photoshop Overlays and my “very occasional” email. I want to talk with you about inspiration, photography, blogging and just staying motivated.


Leave A Comment