

Looking for Food Photography Tips?
Is your food photography not doing your plates of food any justice?
You just spent all this time in the kitchen creating a delicious act of love. It’ looks awesome, it tastes awesome, and it’s exciting.
But, for some reason, that excitement isn’t carrying over to the images on your blog. Your food just looks Meh, the exact opposite of yum!
Being a food blogger can start to feel overwhelming, you’re a chef, not a photographer.
So, what are some simple food photography tips for bloggers?
To find out which techniques are the most important to focus on we reached out to 21 food bloggers and asked them this simple question:
What is your #1 Actionable Food Photography Tip?
What is your #1 Actionable Food Photography Tip?
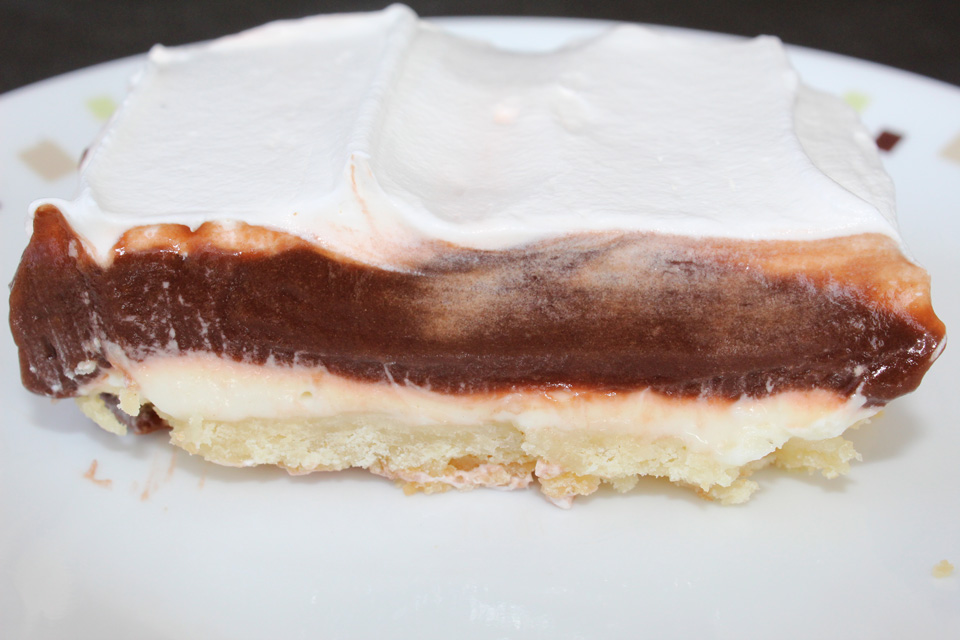
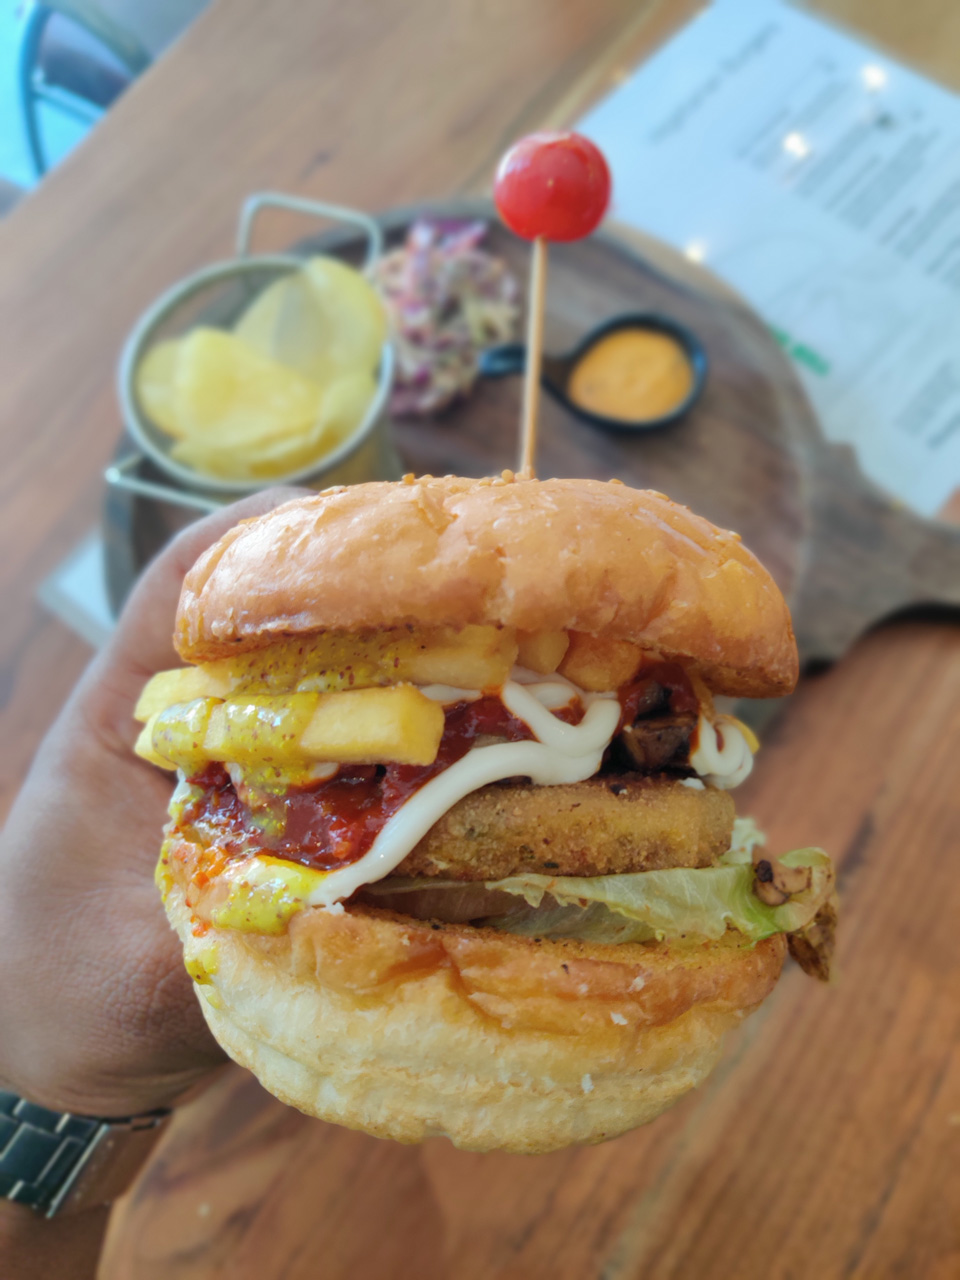
The food photography tips submitted cover a vast range of photography fundamentals, such as lighting, composition, and camera perspective. Obviously, Lighting was a big one. After all, you can’t really talk about “the art of painting with light” without talking about lighting right?
But food photography is more than just light. It’s really a lot of little things. It’s the details, it’s the tiny rogue element that doesn’t belong and is suddenly screaming “Hey, look at me.” This is even more apparent when using a great lens like the 100mm f/2.8 macro.
This lens is incredibly sharp and great for food photography but it’s also a reaver of truths. It will deliver your close and wide food stories but it will also reveal truths in the amount of time you dedicate to details.
One last thing before we get to the food bloggers. You will notice that 21 Food Bloggers ended up as only 16. I wanted to publish early so that any food blogger could come along, look at the tips available and say, “Hey, I have 1 more for you.”
Yes, I will update this post as new submissions role in. Once I’ve gathered 21 submissions the form will close. Let’s get to those food photography tips. Warning, food photos ahead, prepare to be hungry!
“If you really want to make a friend, go to someone’s house and eat with him… the people who give you their food give you their heart. -Cesar Chavez Share on X21 Tips on Food Photography
1.) A Good Photo Requires Great Lighting!
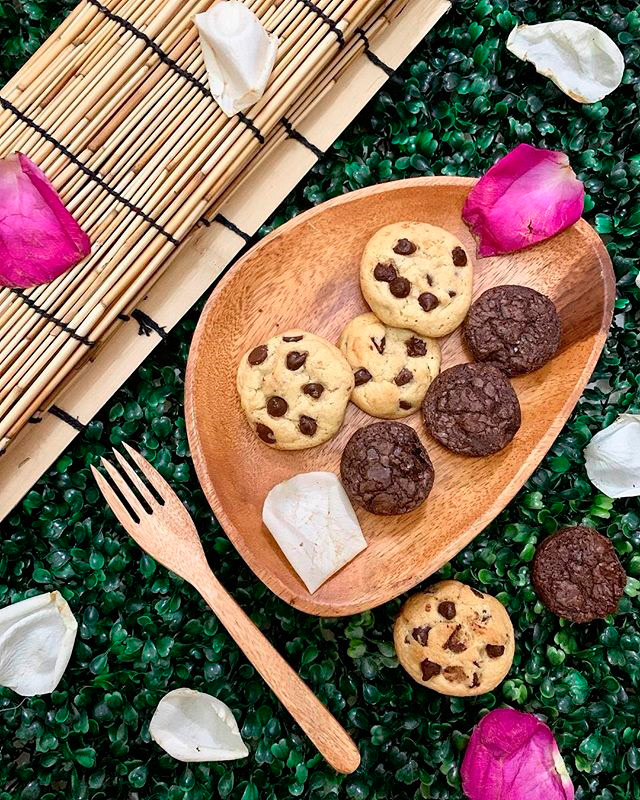
A good food photo requires great lighting. Unlike other subjects, food really works well with natural light. A proper angle also helps capture those yummy and tasty details. I usually focus on one part of the food item to highlight it.
Apart from these tips, I use natural decorations such as wood, flowers, and leaves to make the food pop out! It’s fun to play with colors during the shoot. Throw in some crazy ideas and think innovatively! It’s nice to be creative and resourceful to produce a wonderful food photo.
Emmanuel “Emman” Damian is the founder of the award-winning The Tennis Foodie. A licensed pharmacist and scientist, his passion for Food and Tennis gave birth to The Tennis Foodie.
Emman is also a tennis player who loves to travel and to eat. The Tennis Foodie discovers hidden gems and popular gastronomic spots wherever he goes. Among his numerous accolades are Food Blogs Award 2018 winner in the Philippines and Annual Bloggers Bash 2019 winner in United Kingdom. Catch him at www.thetennisfoodie.com.
2.) Ask Yourself, What are My Favorite Aspects of this Dish? Go Capture that!

Before I take pictures of food, I like to ask myself, “What are my favorite aspects of this dish?” With the answer in mind, I try to capture it through the camera, highlighting the special features.
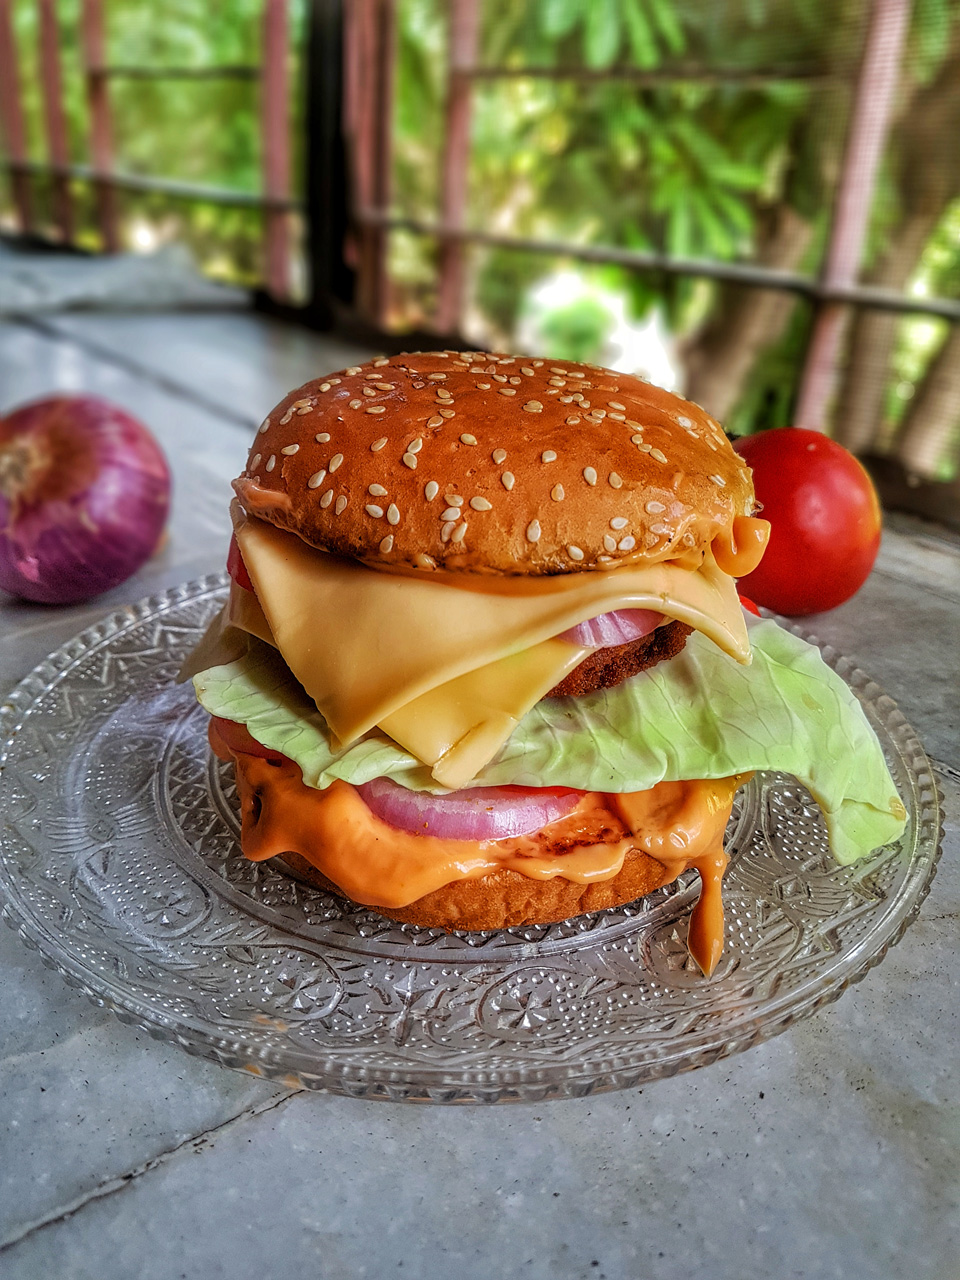
I am originally from Los Angeles, so whenever I visit, I always hit up Eggslut for a breakfast sandwich. What makes their sandwiches stand out is the quality of each ingredient.
The eggs are cooked perfectly – the yolks still runny and creamy, adding to the texture combination. Although I wish I can send pieces of food to my viewers through the phone (can someone invent that please? ), the most I can do is to try to capture the experience.
Generally, I try to have the light hit from either above or in front of the dish. In this case, I used the outdoors to capture the sunlight reflecting off the buttery, toasted buns, the melted cheese, and the juicy bacon.
Those are the dish qualities I want to share with the viewers, and what makes me salivate. Honestly, I take many pictures before I find ‘the one’ (my phone is filled with outtakes). Most importantly, have fun and enjoy the food!
I am a recent graduate with a passion for trying foods from different kinds of cuisines! Currently, I am based in Boston and capture my food experiences on Instagram @jeneatsboston. Through food, I am able to learn so much about other cultures and continuously surprise myself with the creativity of others.
3.) Learn and Practice, the Results are in the Process.
My biggest tip would be having good lighting!! Cannot emphasize this enough!!
Having good lighting will not only make your captures amazing but also gives you more room to play around when editing your images.
Along with lighting, do your research, watch a few YouTube videos, and learn from other food bloggers. I definitely am not the best food photographer out there, but I do enjoy the process of learning and growing through these newly acquired skills.
Don’t try to be perfect, enjoy the process, and most importantly trust the process. It will be a journey of its own!! ❤️
Sharing my love for all things, food, & cooking ❤️@chefdamustyle
4.) Stay away from the Flash on your Camera!
When it comes to food photographs, I think the biggest thing I’ve learned is that lighting is everything.
Using some sort of bright light, whether it be natural light, a ring light, professional lighting, or even just a lamp from your living room, will make your food stand out against the background more and look way more professional then if you were just to use the flash from your camera.
I personally like to use natural lighting the best because, especially during the summertime, you can get that really nice glow from the sun and it makes it easier to play around with shadows and positioning.
Kristaleagh Walthall is the author of Millennial Whiskey, a blog dedicated to helping millennials connect with one another over shared interests and struggles.
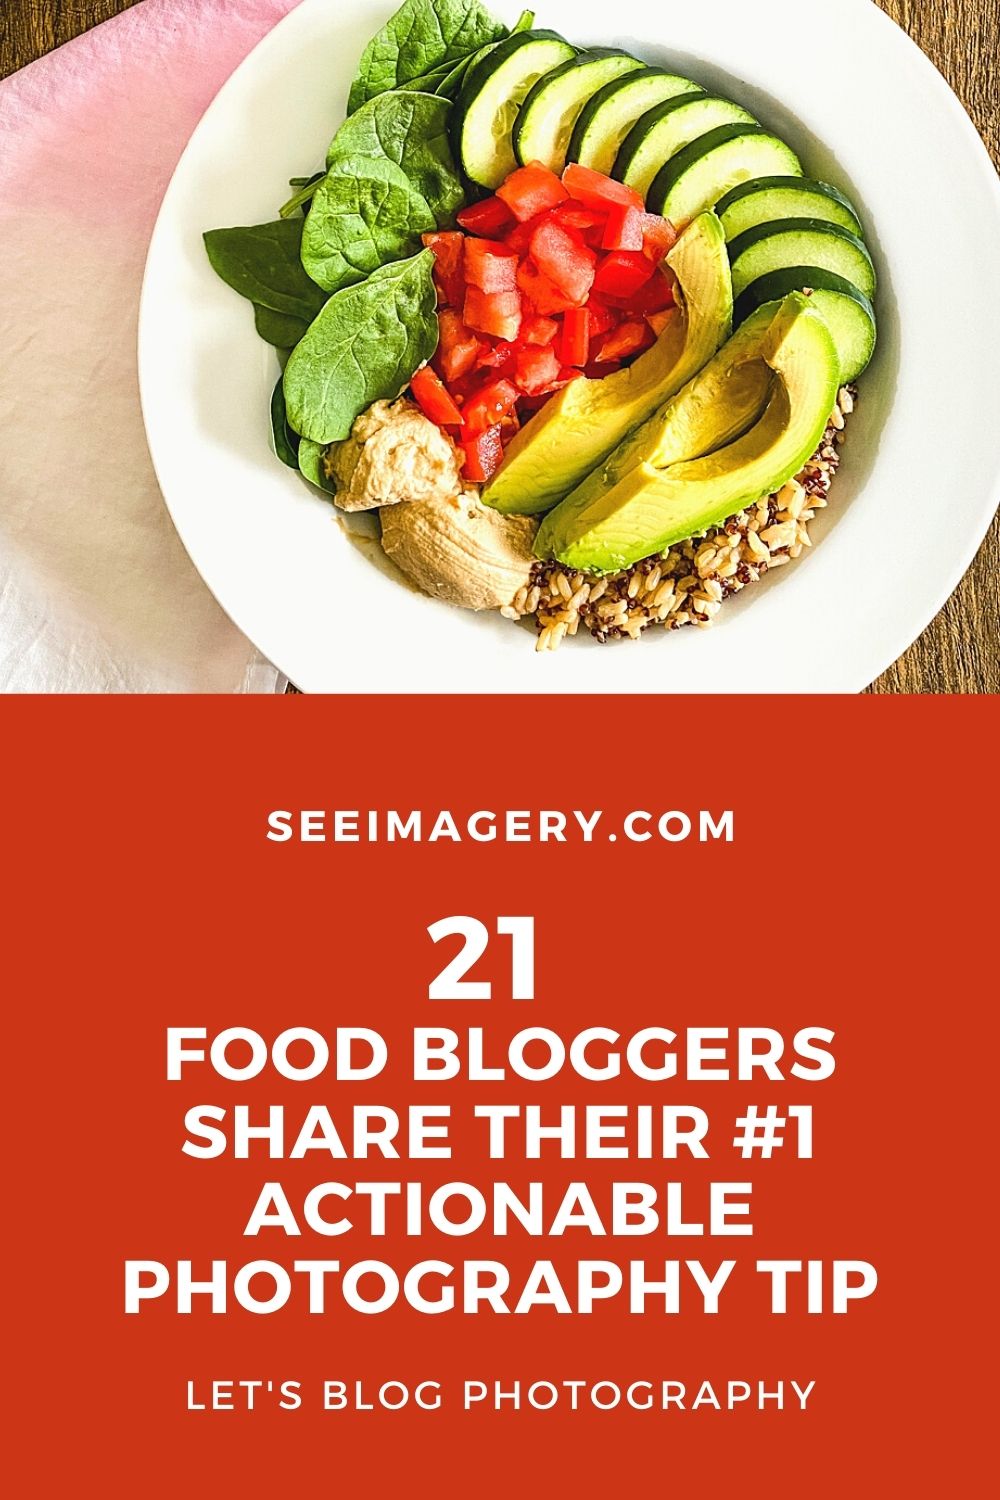
5.) Don’t Forget about Composition!
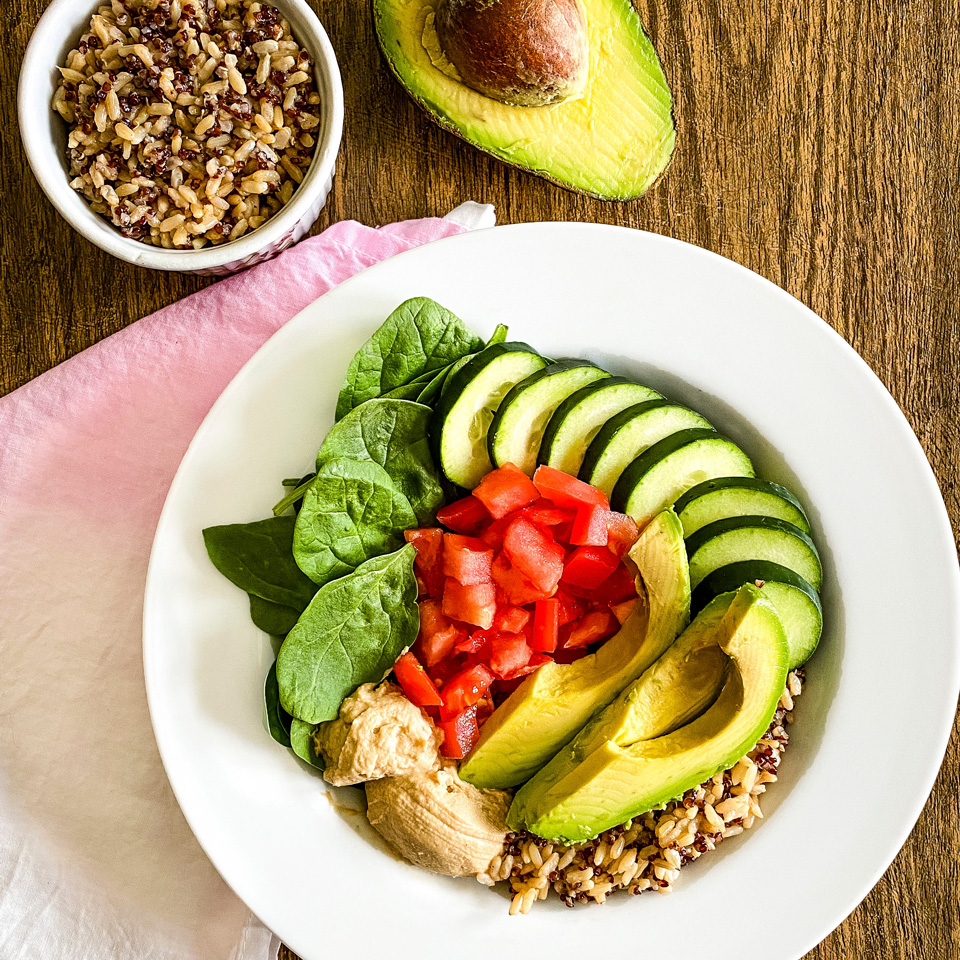
Composition matters in food photography. This is true both in terms of how you arrange the food itself, and also how you arrange any items you include in the background.
When preparing your food, you might present the ingredients in a pattern or other eye-catching arrangement.
For the background, you might add a colorful napkin or towel, beautiful platter, or artful utensils. You might also include some of the ingredients from your dish.
Just a few examples that photograph well are half an avocado, a small dish of grains, fresh or crushed herbs, or a sliced lemon.
At my blog, The Gluten Free Vegetarian (www.gf-veg.com), I share recipes and meal planning tips to support wellness.
My recipes on the GF Veg blog aim to: * Reduce inflammation and promote gut health. All are gluten-free, and many are soy-free and/or dairy-free. *
Be friendly to your schedule and your budget, without a long list of ingredients or overly fussy preparation methods. * Promote clean eating and a diet balanced in all the nutrients our bodies need.
I post vegan, vegetarian, and a few pescatarian recipes on the blog. I write health and wellness articles as well.
6.) Take a Lot of Photos!
Take lots of photos! I like to zoom in close, back off, shoot from up above, and get photos from every angle I can think of! Sometimes I even take the food outside to get a natural light option.
I find that sometimes a photo looks good on the camera, but once I upload it, it isn’t as great as I thought it was. When you are working with food, your object is time-sensitive. Either it is going to deteriorate…or you are going to eat it.
So, take tons of photos while you can! I try to take a minimum of 30 photos per dish. It sounds like a lot, but you need excellent photos. Without amazing photos, it will be hard to get traffic to your recipes and hard to get other bloggers to include your recipes in roundups!
Simply Full of Delight (www.simplyfullofdelight.com) provides practical help for parents. There’s gluten-free recipes, humor, parenting tips, and a glimpse into foster care.
7.) Angles, Lighting, and Props
There are a bunch of things you can do to get that picture-perfect photo but here are a couple:
1. Angles: I have found that aerial angles of food are most appealing. Standing on a chair is the easiest way to achieve that without looking like you were trying too hard. There is also a setting you can set on your phone to show gridlines to ensure your photo is aligned appropriately
2. Lighting: The best type of lighting is natural lighting. Any other lights can be too harsh and can cause your food to look washed out.
3. Props: Use props that would make your food pop and not blend in with its surroundings. If you have a vibrant looking drink, for example, don’t use props that are just as vibrant. The point of focus should be your food – not anything else.
@khan.we.eat – created by a crazed foodie with a camera, Zainab Khan.
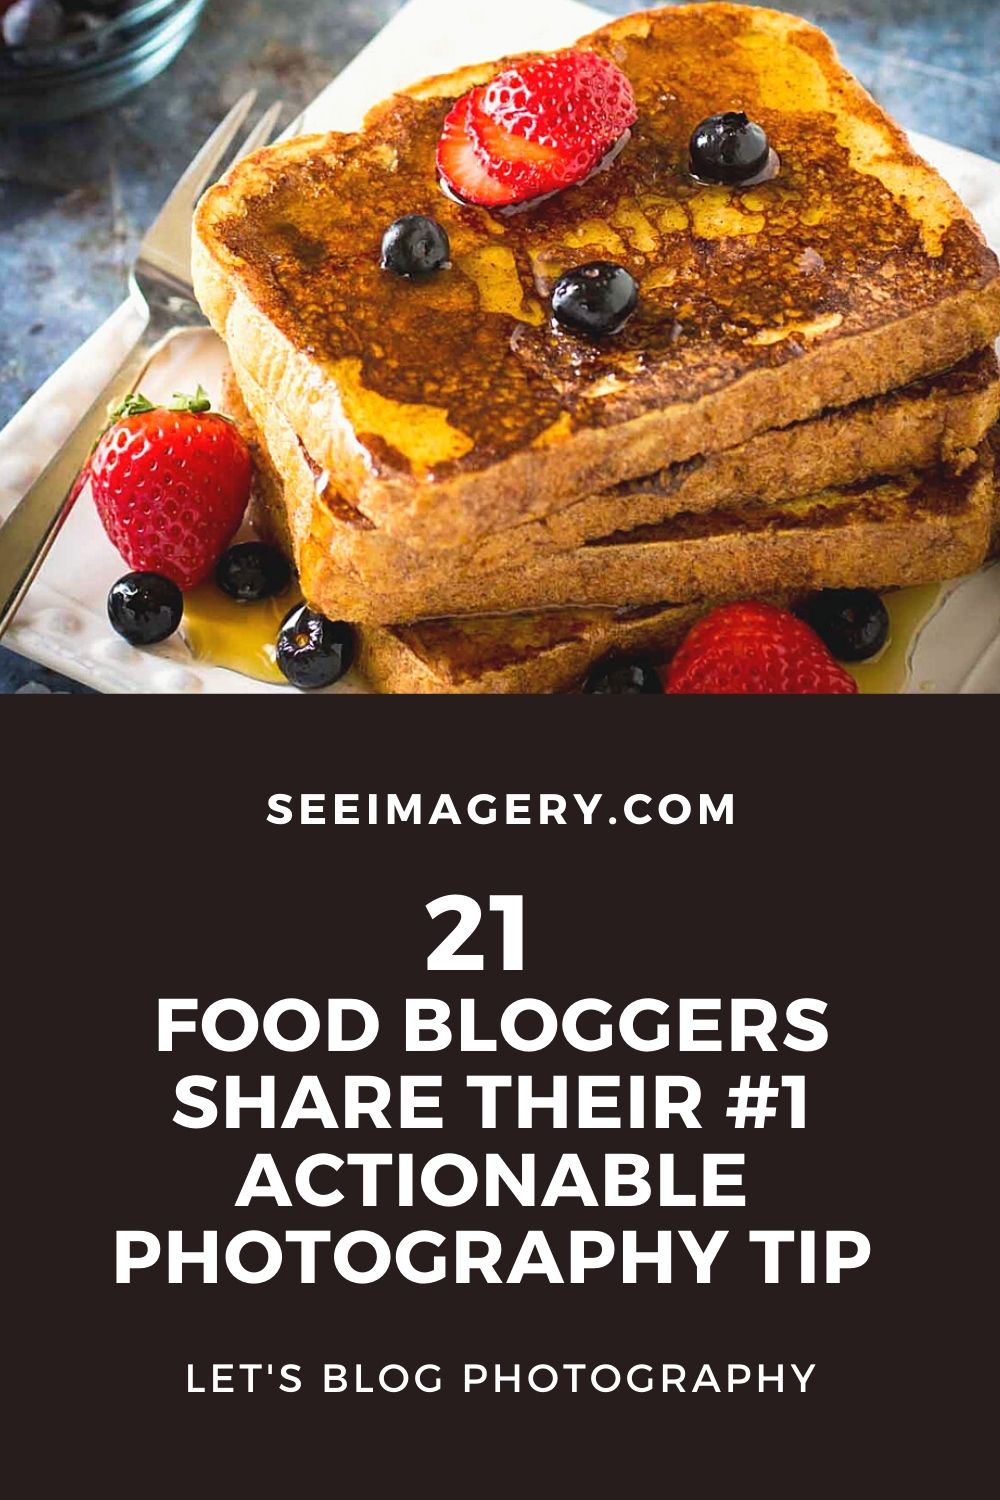
8.) Lots of Light is Good but Controlling that Light is Better!
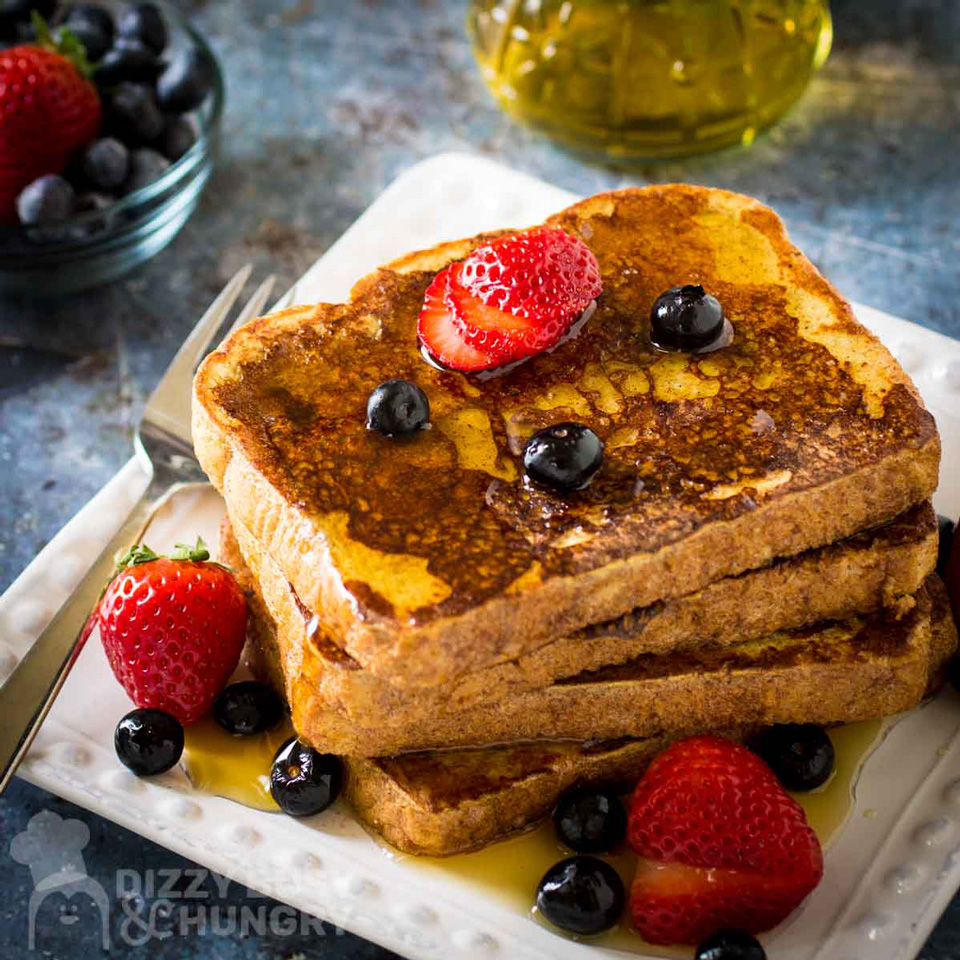
My biggest tip for food photography is mastering the concept of managing light. When I first started shooting food, I was under the common misunderstanding that lots of natural light is the way to go for the best-looking food photos.
Eventually, I realized that, while the ‘natural light’ part is generally a good choice, it’s not really a good thing to just have ‘lots’ of light, the light needs to be carefully controlled.
Once I realized that I had to ‘manage’ the light, the quality of my photos improved considerably. Things to look out for when managing light:
1) Choose your main source of light.
2) Turn off all artificial lights.
3) Use a sheer fabric to diffuse the light.
4) Position your subject relative to the light source, purposefully considering the direction of the light (sidelighting, backlighting, etc).
5) Use reflectors to fill in harsh shadows where needed.
6) The main concept that helped me: Realize that even with one main source of diffused light, there can still be too much light! This can happen especially if you have a large window as your main light source.
Now that I understand that, I’ve started using dark foam boards which I cut to the size I need and tape to the window to reduce the size of the block of light shining through. And it gives me maximum flexibility in managing the amount and direction of the light.
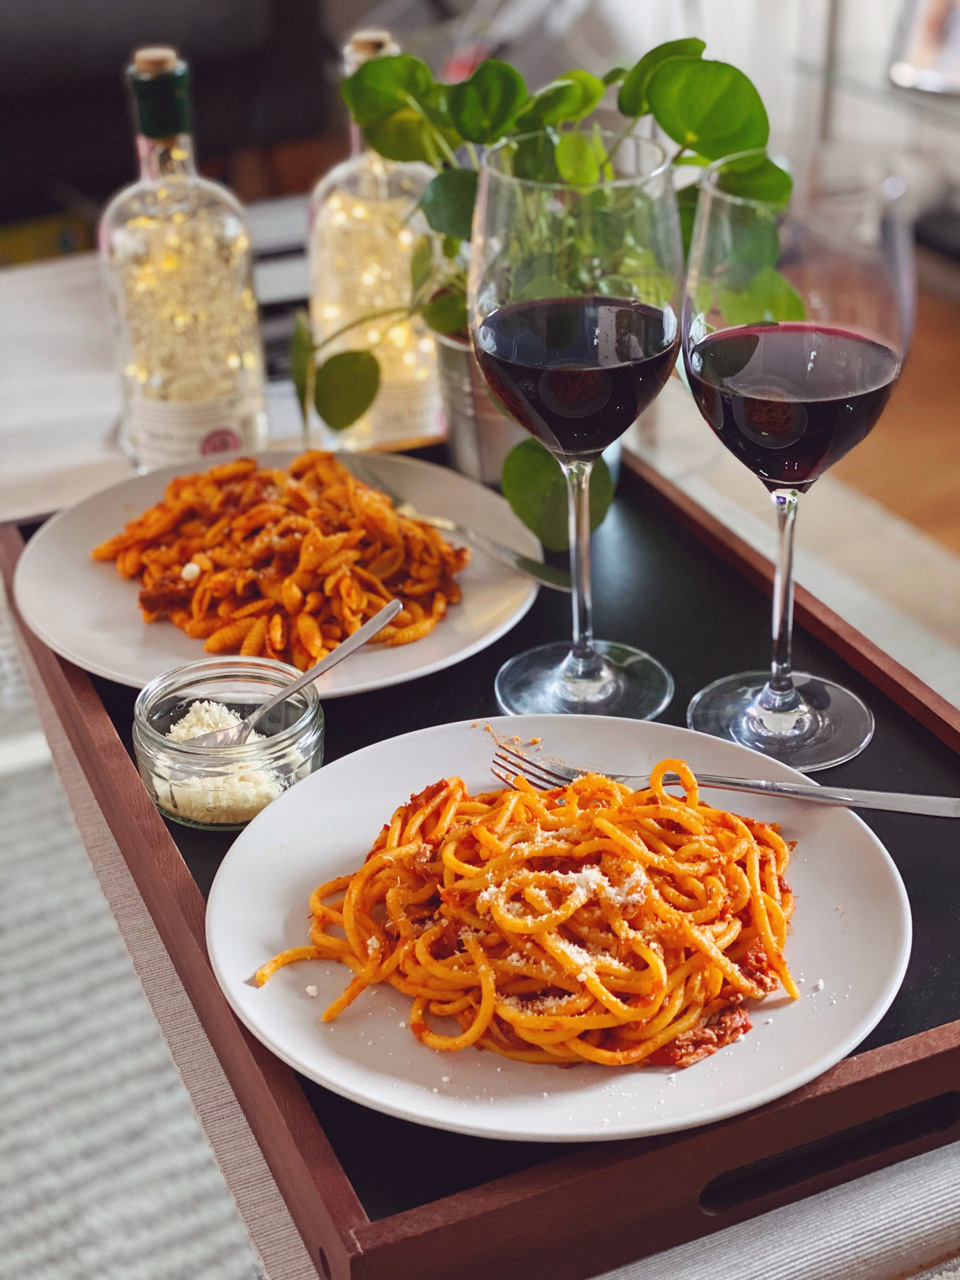
In the provided photo, I am using a back-sidelighting setup (light coming from around 10 o’clock) in order to get a nice shine on the berries and a little bit of a moody shadow on the right front of the stack of French toast, indicative of the angle of the sun in the morning. Yum!
DizzyBusyandHungry.com is a blog dedicated to helping on-the-go folks prepare fresh, delicious, nutritious food for themselves and their families!
9.) You don’t need a Fancy Camera, you just need these 4 Tips

I think the easiest way to take photos of food is by using your phone. You don’t necessarily need a fancy camera to take appealing food photos.
You can probably get by with a point-and-shoot camera or a phone. It’s all about light. Here are my tips for food photography.
1) Try to take food photos under natural light. I do not suggest using lamps or a flashlight ever.
2) Fix the saturation of your food photos. Personally, I always slightly increase saturation for my food photos so it looks more intense.
3) Always sharpen your photos but do not use a blurry image! A Blurry image always looks bad even if you sharpen it.
4) Choose a dark background. Add colorful food on your platter and garnish your food properly.
Go ahead. Try the tips above and you will be bombarded with likes on all your food images.
Hi, I am Niladri from Kolkata. By profession, I am a corporate and food blogger.
Instagram ID @kolkata_foodies_community
You can check out my blog https://kolkatafoodiescommunity.wordpress.com/
10.) Every Minor Detail is Important!
Over this past year of being the creator of my food blog, I have learned that lighting is key for the best possible picture. Natural light highlights the food and brings out all the textures and details in a dish.
With a dark setting, you wouldn’t be able to capture those things which make the food look so appetizing.
I have also learned that even minor details are important. Whether it’s one tiny crumb on the plate or a sprinkle that’s not aligned properly, it all matters, and your audience will notice.
I’m still working on my skills and always trying to improve with every chance I get, but I always keep these tips in mind to give me the perfect mouthwatering shot!
Yumiami, pronounced “yum Miami” is a blog to explore all the different tastes in Miami and also a way to discover new easy recipes to try at home! I’m able to share my passion for food with my followers and give them the “best eats” in Miami! Instagram: @yumiami_ Website: yumiami.com
11.) Shoot in RAW Format to ensure Maximum Leeway while Editing
1. Plan your shoot. We need to know what sort of output are we expecting and prepare accordingly.
2. When you have your subject, try and shoot it in front of a backdrop which is of contrasting color. It will automatically pop out your subject in the picture.
3. When you have a combo or a subject with sides then we can keep the main dish in focus and the sides in background.
4. Make sure the lighting is right where you are shooting. If not right then arrange proper lighting. But give first priority to natural light and change ur location if required to get proper natural light.
5. When clicking a spread from top-down, we need to use higher aperture so we can focus on all subjects at the same time.
6. Make sure ur lens is cleared with a microfiber cloth before every shoot.
7. Have a habit of clicking photos in RAW format so we can have flexibility while editing.
8. Use a quality tripod and a Bluetooth shutter release to avoid camera shake.
9. Always take photos from multiple angles.
10. Use nice and easy photo editing apps. We recommend Snapseed and Lightroom.
Foodliners, two engineering lads based in Ahmedabad. We are on a journey to discover and showcase different food culture and experience offered by street food vendors. Instagram Handle: @foodliners Website: www.foodliners.in
12.) Get Close, We Need those Food Details!
When I first started my food blog, I often took photos from a far distance, showing the entire table & did not use portrait-mode (blurred background) on my phone camera. Over time, I realized that taking close-up photos & focusing on the food within the frame creates a much more mouthwatering reaction.
As a food blogger, your goal is to make people desperate to try whatever you are capturing. If you can’t really see the details of the food clearly, then it’s hard to make the viewer instantly crave whatever you are photographing. (In foodie terms we call that #foodporn)
I have worked in the hotel industry for 8 years & one of my favourite parts about my job is giving recommendations for amazing places to eat in YYC. It would give me so much joy whenever people would come back raving about the places I sent them, so I decided to start this blog in 2018 to expand on it even further as a hobby. I love exploring cuisines & sharing what my city has to offer! Instagram: @hungry.yyc
13.) Get Close, Watch your Angles, and Shoot Portrait Orientation for Instagram
Whenever I look at pictures on others’ feed, what catches most of my attention is that if they’re clicked closely. Food Photography is all about making the food look tempting and that comes naturally if you take your picture at a close angle.
Always keep the grids on in your camera as they really help in taking a symmetrical picture. Pictures that fit well into the Instagram Image Size are always a plus. A good camera isn’t always needed once you know the right angles but it definitely does help.
We are a bunch of Lawyers who took up Food Blogging as a side hobby. We aren’t necessarily bloggers but we do have immense love for food photography, cooking, and food styling which was the exact push needed for this page to grow. It has been amazing 2 years of curating dishes and exploring food and we don’t wish to stop. Find us on Instagram: @dillikegluttons
14.) Create a Scene that Someone could Visualize Themselves In
My biggest tip for food photography is to have one focal point and always create a scene that someone could visualize themselves in. Particularly when capturing food photography for social media. Think about the first thing that you want people to see which will usually be a dish, a food item, or a drink.
For example, If you are photographing a dish, add a drink in the background, add cutlery, napkins, a candle. Add things that build out a moment.
Photograph how you would actually eat and enjoy that dish not just something overly stylized. Use your grid on your camera to align and center your dish or focal point. Then in editing, you can blur to soften the background.
Blurring will make sure the dish eye-catching, portrait mode also achieved this if you have portrait mode functionality. Food images like this will be more accessible for people to connect with emotionally and will perform better engagements wise.
A Very Hungry London based foodie called Charlotte. Cocktails, Cooking & Consuming. Discovering the best bars and restaurants in London and abroad. https://theveryhungrycharlotte.com/
15.) Use Natural Light

My favorite way to take pictures of food is by utilizing daylight. Indoor lighting isn’t always optimal and can make food difficult to photograph. Something as simple as stepping outside in natural light can help highlight the textures and true colors of a dish with minimal editing or equipment required. If it’s too hot to be outside, I almost always try to be seated near a window. You can position your food to face the daylight and capture the same if not similar effect all in the comfort of air conditioning!
Native Houstonian living for food, fun and puns Instagram: @nkmedeats
16.) What Matters the Most is Angles

In food photography, the main goal is to display your dish in a more tempting and pleasing manner. For that, you need proper lighting and angles.
Once you’ve established that, presentation is key. Presentation makes your food look more delicious.
You also need to know where to focus your camera. It doesn’t matter which phone or camera you have. What matters the most is your angle of looking towards your dish or food.
Thank you ? happy blogging ?
Let’s be a part of my food journey @food_bloggers_life
17.) Ut-Oh, looks like we ran out of food photography tips!
Do you have a food photography tip that hasn’t been mentioned? Simply fill out this form to be included: “Hey, I have one more food photography tip.”
Join the Tribe
Want to join an amazing tribe of photographers, artists, and other creatives? Want more NFT Tips? Check out our Facebook group, NFT Photography Community. The Goal: Let’s just all help each other out!
Also, don’t forget to jump on the email list to get some free Photoshop Overlays and my “very occasional” email. I want to talk with you about inspiration, photography, blogging and just staying motivated.
Share these Pins to Pinterest


Excellent post! Full of tips and info plus a wide variety of perspectives from different food bloggers. Great example of the power of collaboration.
Yummy ng mga foods super creative